Well autumn is in the air and garlic planting season is upon us. So now is the time to visit the garden centre for your best selection, particularly because this past wet spring wreaked havoc on the garlic harvest and some varieties are in short supply this year. In the spirit of homegrown cuisine, I thought I’d provide novice growers with the basics of garlic cultivation and perhaps share a few tips for the more seasoned gardeners.
Why you should grow your own garlic; If you want truly organic garlic then simply grow your own as most of the imported store-bought crop has been bleached (with chlorine) to whiten the skin and possibly treated with growth inhibiters or irradiation to prevent sprouting. Also, homegrown garlic tastes ten times better than anything you can buy from the supermarket.
When do you plant garlic? The optional time to plant garlic in coastal BC is from late September through to early November, with mid- October being the ideal. You can also plant in early March for a fall harvest but expect much smaller bulbs and occasionally these will be solid with no individual cloves developed.
Where should I plant my garlic? Choose the sunniest part of your garden, keeping in mind that we are talking about winter sun. Good drainage is also very important, with raised beds or rows being ideal. This really came into play this past harvest when four months of spring rains caused ground-level garlic to rot or experience severe fungal problems, while those in raised beds fared quite well despite the weather. If possible, rotate your garlic crop every 3-4 years (follow with brassicas) to prevent the possible build-up of disease.
How should I prepare the soil? About two weeks to a month before planting amend the soil with compost or mushroom manure (avoid too much manure, as this has been linked to garlic rust problems). You will also want to lime the soil at this time as garlic prefers a neutral to slightly alkaline pH. Adding gypsum (calcium sulphate) provides sulfur which is essential for the spicy flavour and health benefits we receive from garlic. You can also work in some organic fertilizer such as Gaia Green All-Purpose 4-4-4 but avoid excessive nitrogen as you will only get plenty of foliage with small bulbs.

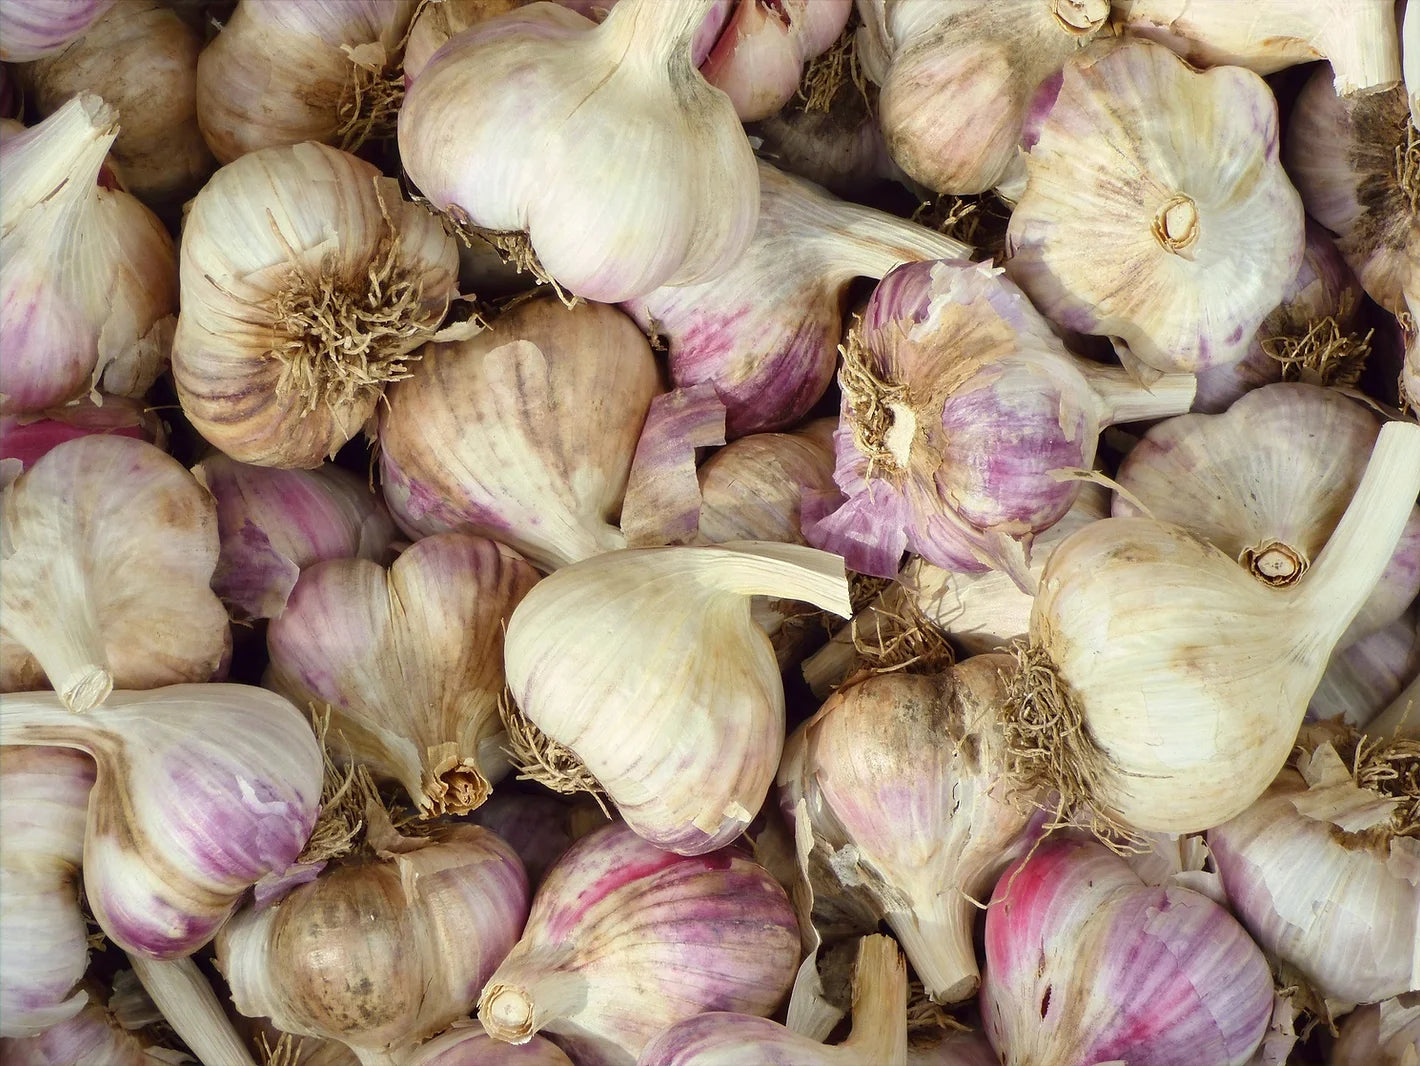
What type of garlic should I plant? There are three basic types of garlic; Softneck (Allium sativum var. sativum), Hardneck (Allium sativum var. ophioscorodon) and Elephant (Allium ampeloprasum) which is not a true garlic but a leek. Softneck is your typical grocery store garlic which prefers a warmer climate, generally does not produce scapes but stores longer than Hardneck and can be braided. Hardneck types have stiff stalks and fewer cloves than Softneck garlic but tends to grow better on the coast and produces edible flower scapes.
There are three types of Hardneck garlic; Rocambole (‘Spanish Roja’, ‘German Red’) with thin skin and curly scapes, Porcelain (‘German White’, ‘Legacy’, ‘Music’, ‘Yugoslavian’) which produces fat bulbs with thick skin that is good for storing and Purple Stripe (‘Metechi’, ‘Russian Red’, ‘Chesnok’, ‘Mexican Purple’, ‘Siberian’) with striped purple skin and flavours that vary from mild to very spicy. Elephant garlic is very easy to grow here, produces massive bulbs (up to 4-5” wide) with a mild flavour but also an abundance of tasty scapes.
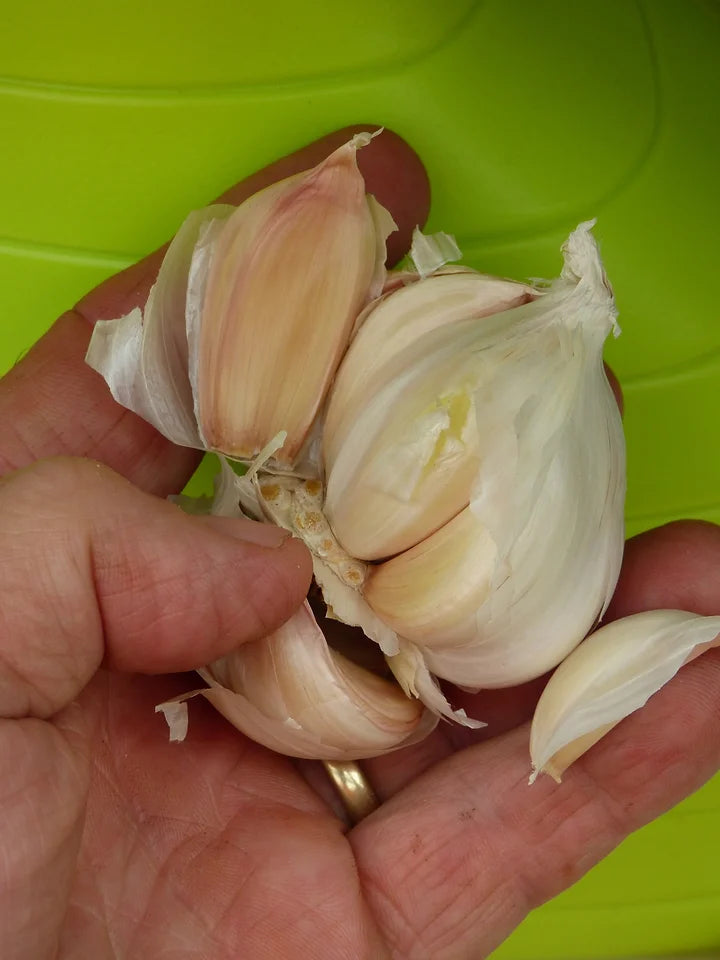
How to Plant Garlic; Make sure that you only separate your bulbs right at planting time, as this helps the cloves to root faster.
Only plant the larger cloves (just eat the smaller ones) and have a little bone meal on hand to add to the planting hole to aid root development. Proper spacing is important as overcrowding will only result in too much competition and smaller bulbs; plant Softneck and Hardneck cloves 6-8” apart with rows 12” wide, while the larger Elephant should be planted 8-10” apart with rows every 18”. Plant the cloves so that the tips are about 2” below the soil and pointed upwards, do not remove the skins. Try to plant only unblemished garlic but if you had some fungal problems (white rot) the previous season, dip the cloves in a solution of 9 parts water to 1 part bleach and plant immediately.
Can I Grow Garlic in Containers? Yes, although it is not the most efficient means. In order to get something close to a regular-sized bulb, you will need to plant one clove in a 3-gallon pot or three cloves (well-spaced) in a flat 5-gallon pot. You will also require a compost-rich container soil such as Sea Soil Complete if you want decent flavour.
When to Fertilize Garlic; Besides the initial All-Purpose 4-4-4 added in the soil preparation, spring (from late March to May) is your next fertilization opportunity. Granular can be difficult to use at this time as it can get caught in the foliage, so use a foliar spray of an organic fish or kelp which feeds the top growth and in turn, results in larger bulbs.
Why you Should Remove Flower Scapes; Both Hardneck and Elephant garlic produce flower scapes (usually starting in early June) and these should be cut off to prevent energy from being diverted from bulb production. The bonus here is that they are both edible and delicious, making great additions to a fresh stir-fry or blended into mouth-watering pesto. My daughter uses ½ pound of finely chopped scapes with 2 cups of grated asiago cheese and 1 cup of extra-virgin olive oil for her pesto.

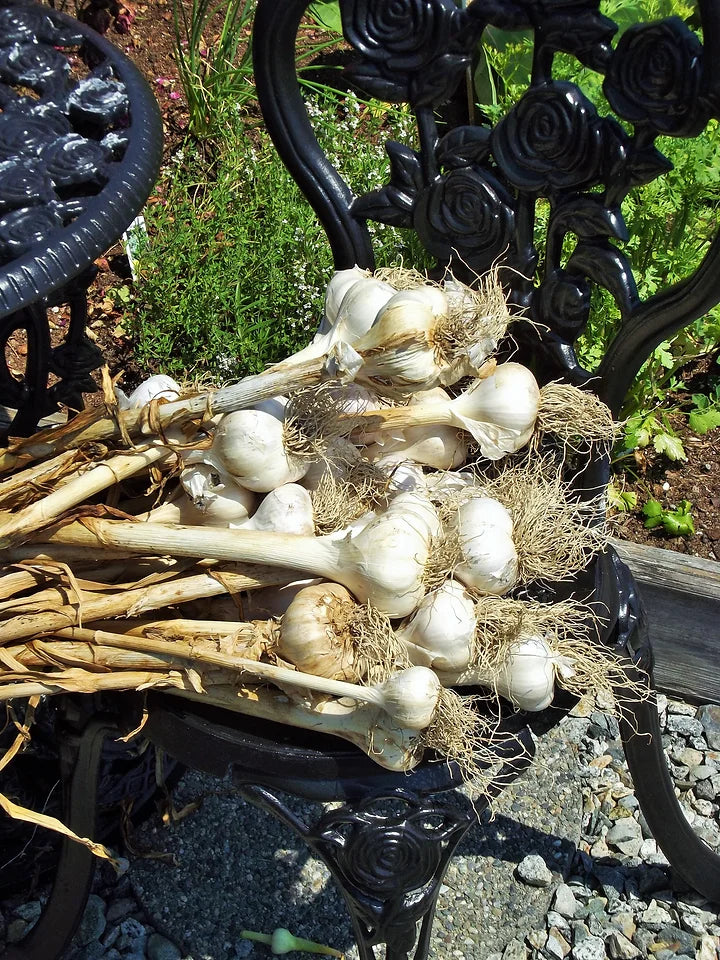
Harvesting Garlic; The harvest time can vary depending on the weather but usually by late June to early July the foliage begins to yellow. You can stop watering it at this time and wait about two weeks to harvest, when the foliage is ½ to 2/3 yellow, usually mid to late July (sometimes into early August). Use a garden fork to carefully lift the entire plant without damaging the bulbs and gently remove any excess soil, but do not wash it. You will then need to cure it for 7-10 days by lying the plants out in a single layer on newspaper lined plastic trays or simply hanging them in small bundles. An outdoor area with good air circulation is best but it needs to be out of the sun and rain.
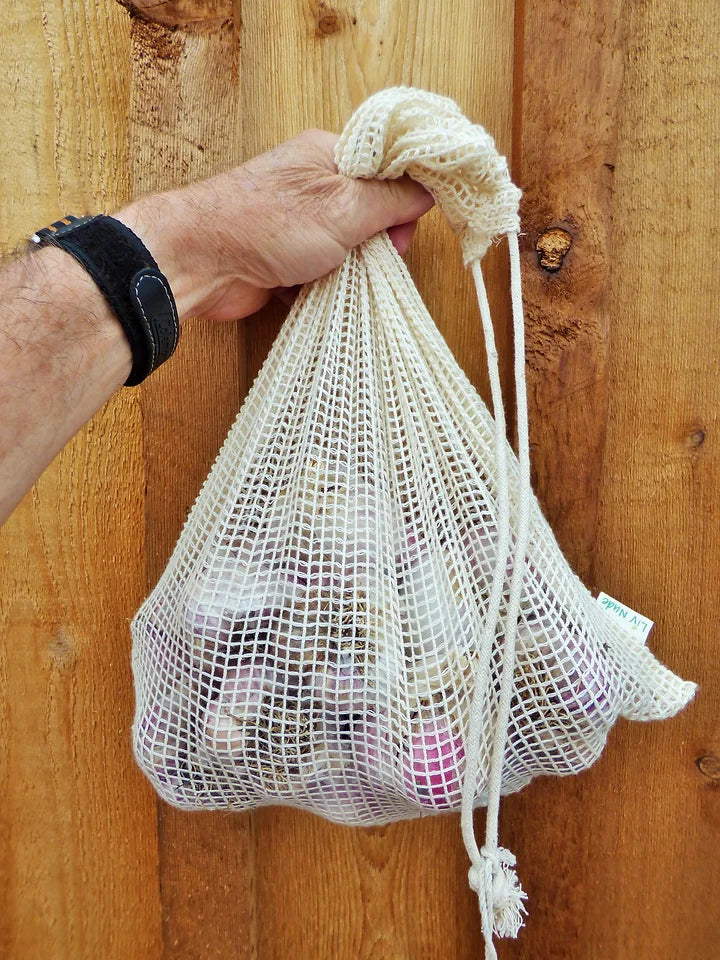
Storing Garlic; Once cured, you will need to remove the roots (either by hand or with scissors) and trim off the tops, being careful not to cut too close to the bulb. You can use an old toothbrush to remove any dry dirt but if the bulbs are still soiled, you can peel just one outer skin layer. Store garlic in mesh bags in a dry, dark space with a constant temperature of 60-65F and good ventilation. Never keep it in the fridge as this causes sprouting (once it is brought out) and changes the flavour. If in good condition, it should keep for an average of 6-8 months.
Growing Garlic from Seed; If you are growing several different types of garlic, it might be worth your while to allow a few scapes to flower and go to seed. They will produce tiny bulbils that can also be planted in the fall, but be warned it will take 2 to 3 years to produce a decent bulb. Plant these 1” deep and 2” apart and grow as normal. With cross-pollination you just might end up with an entirely new variety of garlic.
My Favourites; I thought I’d end this piece by sharing my favourite garlics which are ‘Mexican Purple’ for its hot, spicy flavour (but do not expect big bulbs) and Elephant garlic for its tasty scapes.